

Welcome to My Imagination
Where the Razzle-Dazzle happens

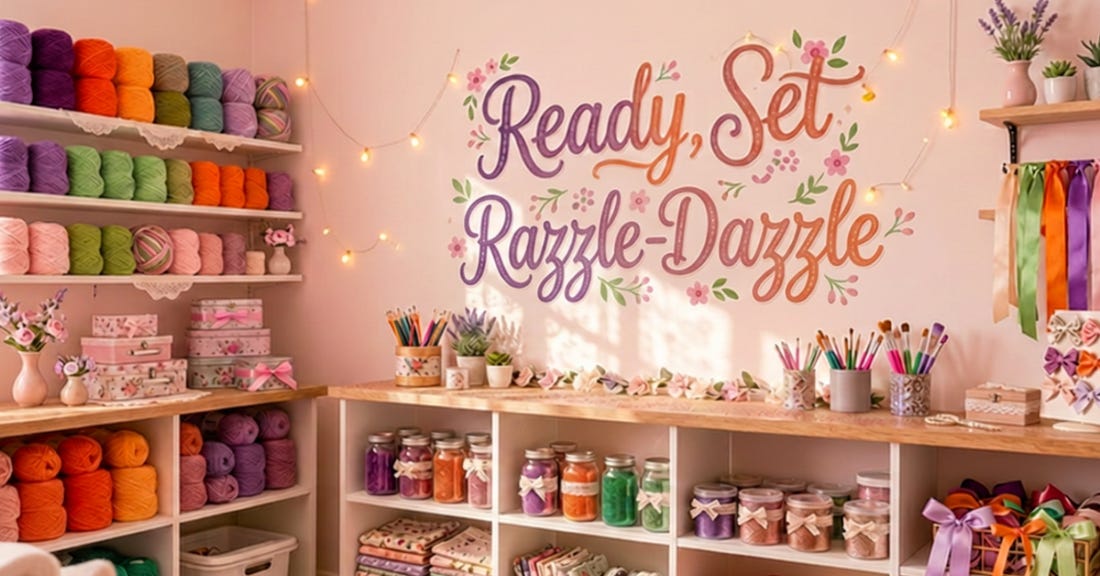
I’m starting a new feature, to be housed in both the How To and Features folders on my site, called “Ready, Set Razzle-Dazzle”. By popular demand, I’ll be sharing my creative process for design, make, upcycle, and remix projects, for interested readers to try for themselves. The banner for these posts is a version of the cover above, enabling you to watch your mailbox for this specific feature, like you once watched for your favorite magazines back in the day.
In fact, I’ve created different banners for my various writing topics designed to help you hone in on your favorites instantly, saving you time. Here is a gallery of banners I use.


Of course, if you’re not interested in certain topics, others in your life might be. So I’d love it if you take 30 seconds to open the posts and use the share button to pass them on for their enjoyment. Thank you for that.
***This post is too long to view in email. Use this link to view at your leisure on my website. This post will be pinned to the top.****
Bren’s Buzz | Cori Bren | Substack
How-to images take up a lot of cyber space. Deal with it!
Today’s project is a delightful upcycle (simmer down, this time the buzz word is important) of a $5.98 reusable shopping bag from Walmart that can go with you anywhere, is machine washable, and requires only ONE fabric cut to make. I made it for the dean of the nearby university with my 1945 sewing machine, pictured below., because I don’t care for throwaway gift bags. But, if you don’t have a sewing machine, you can make a slightly lighter-duty version of this using paper-backed fusible web bonding, such as HeatnBond, which only requires an iron. I come to find out they also sell iron on pockets! What an adorable way to dress something up.
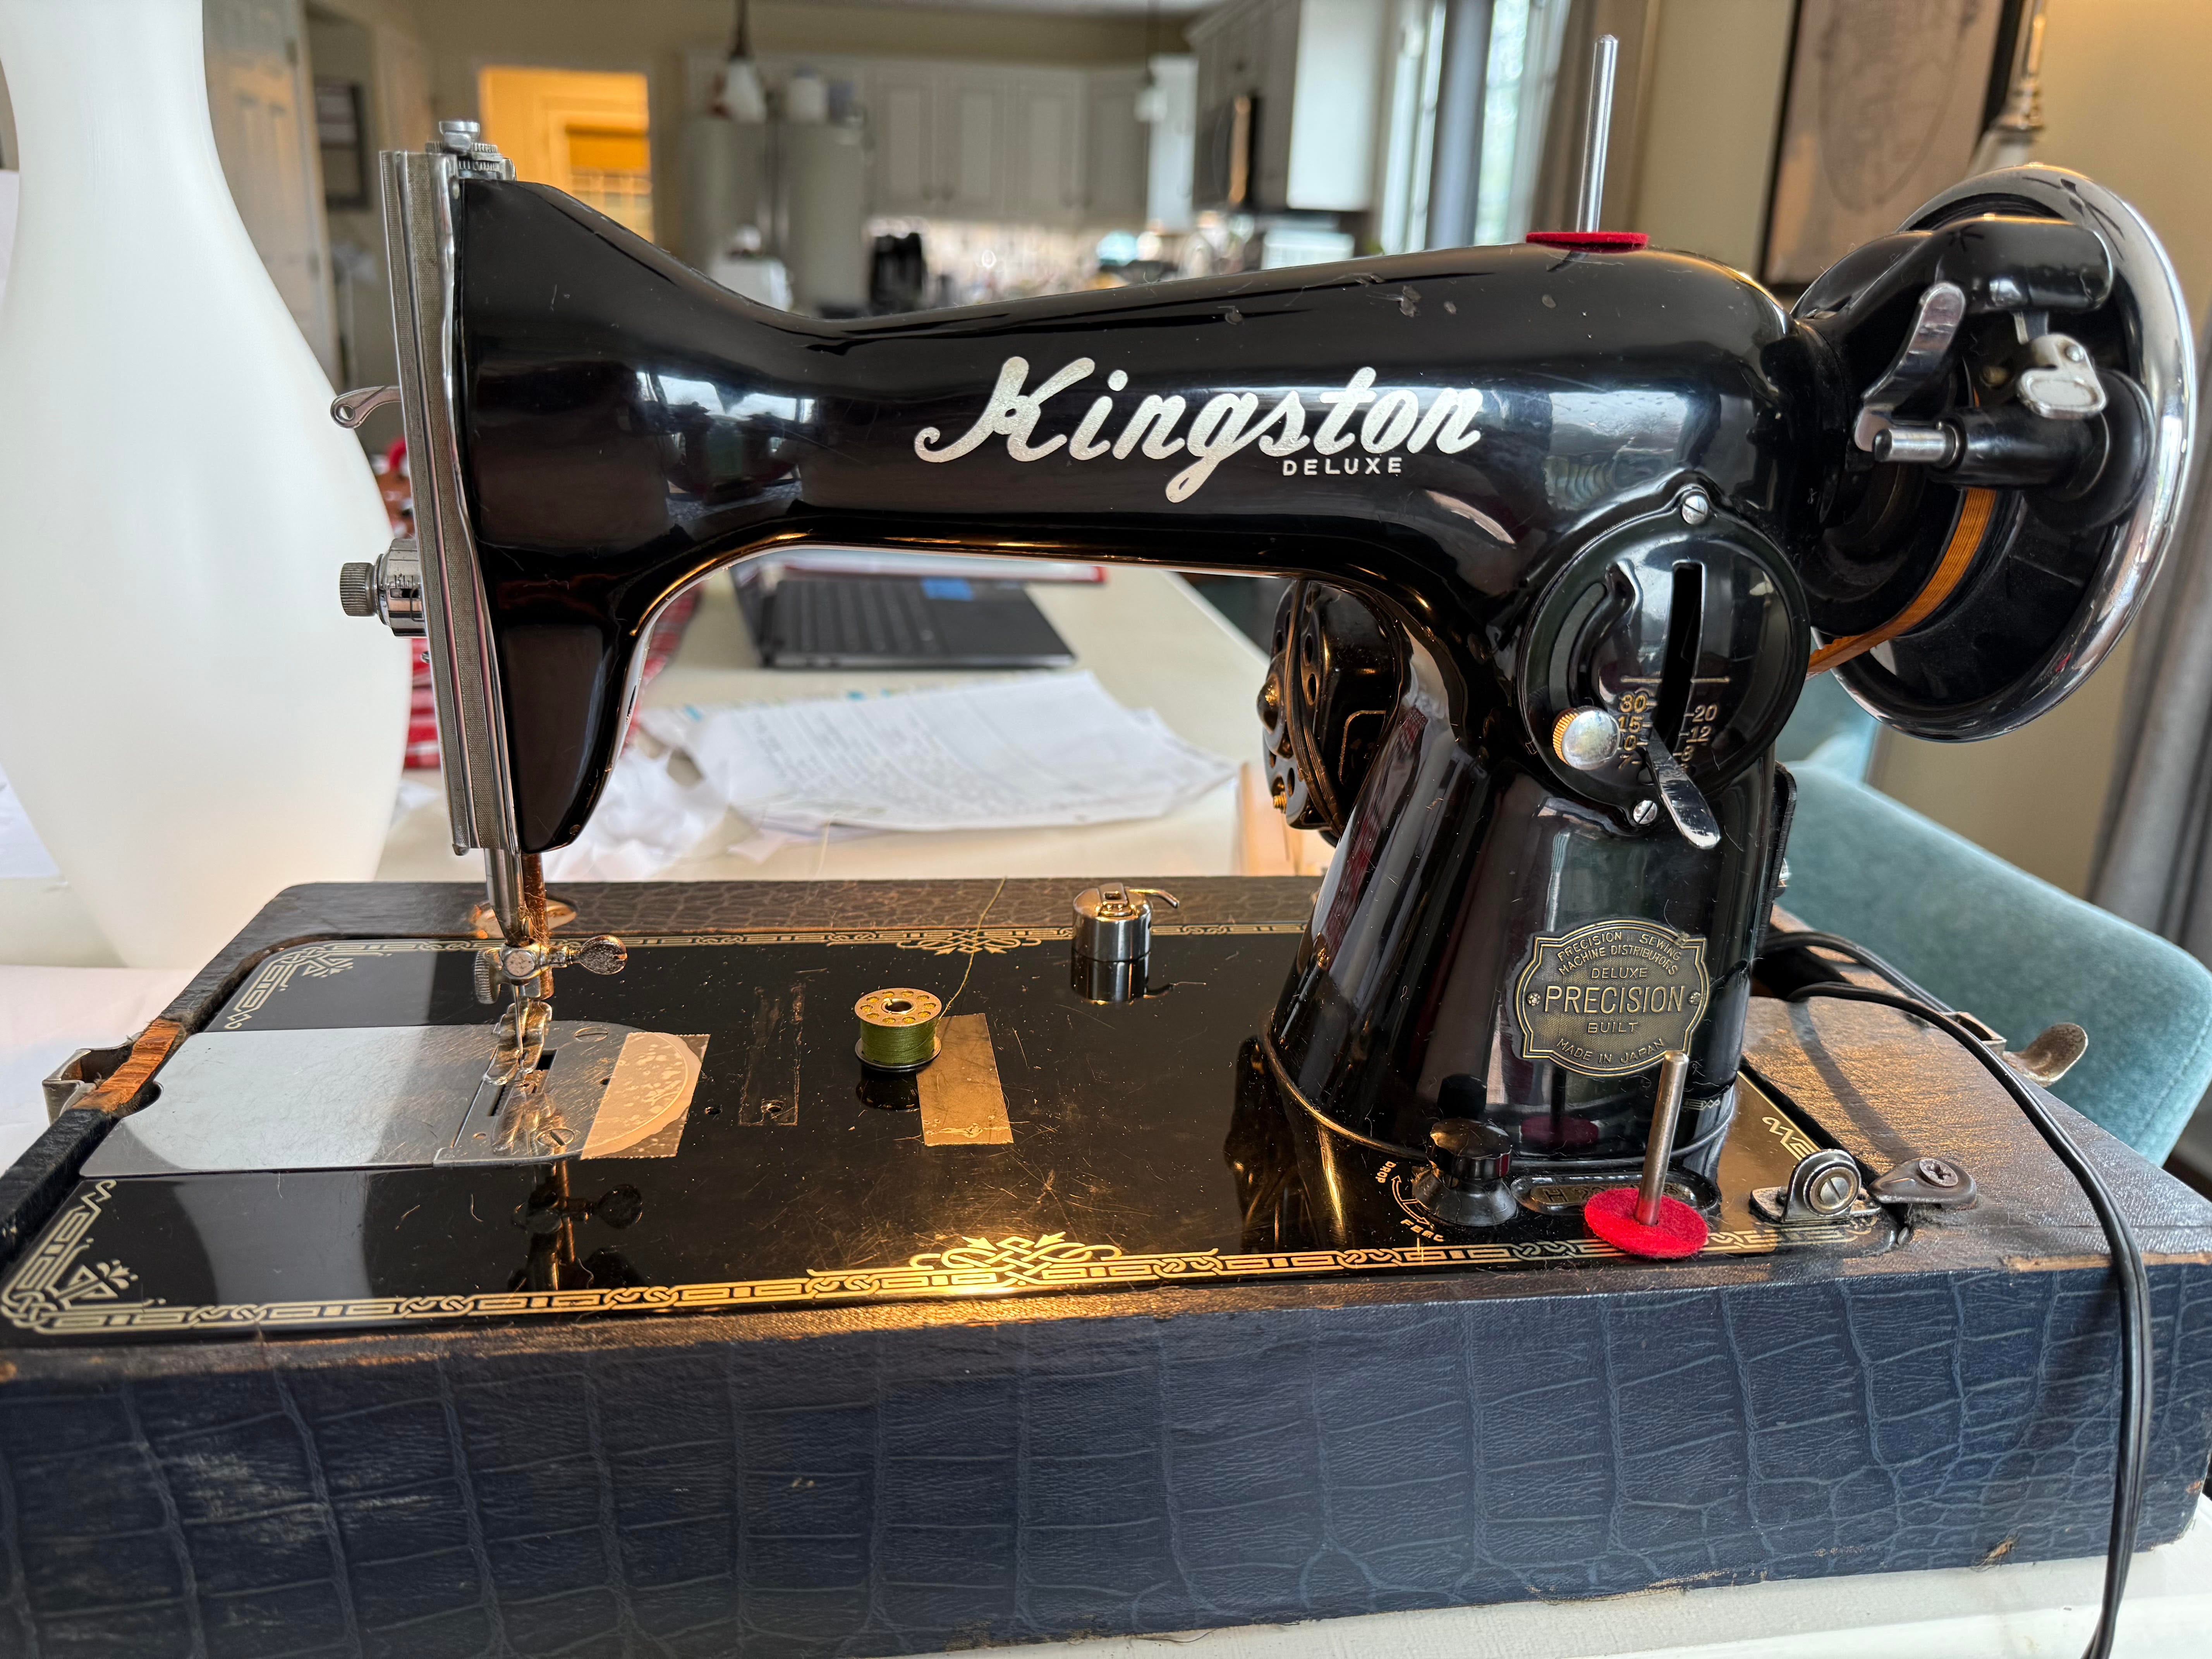
By the way, our local Goodwill shop sells sewing machines and irons.
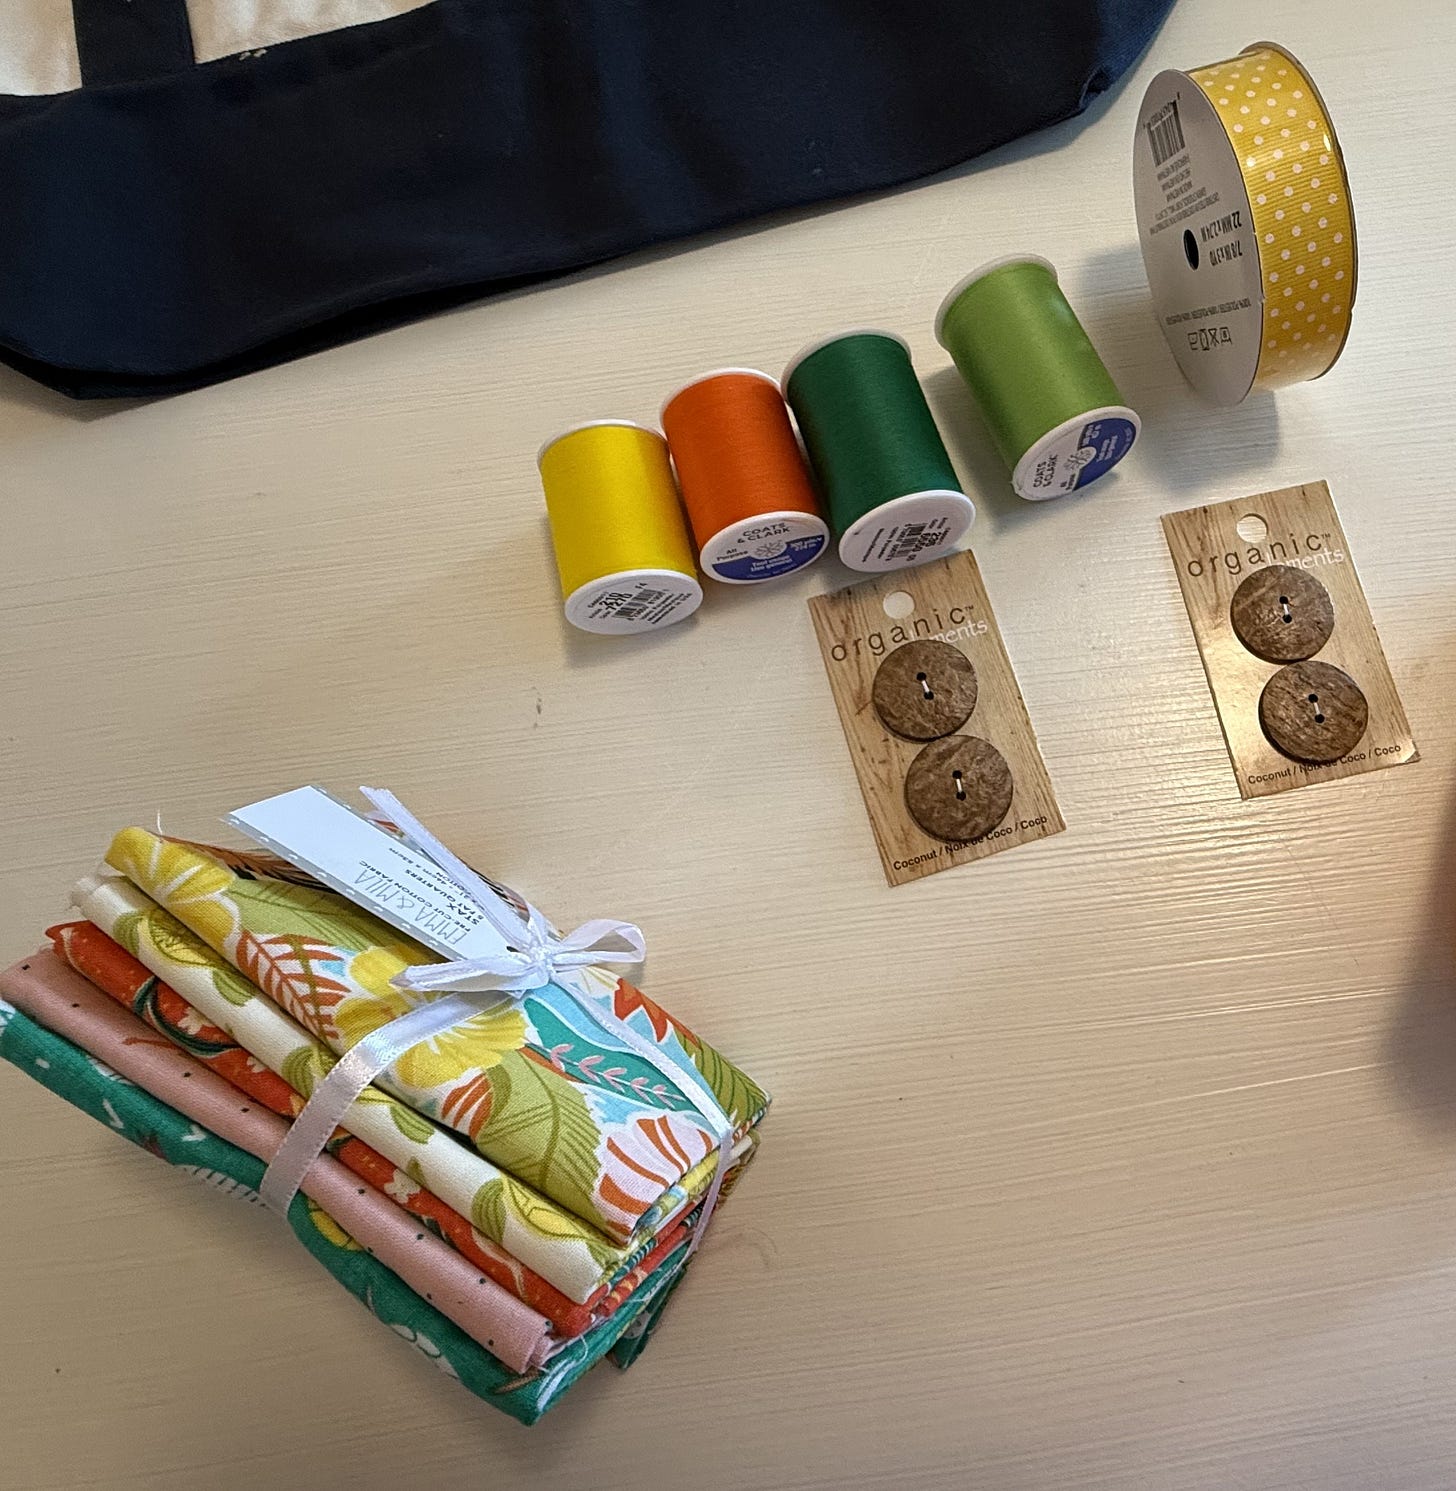
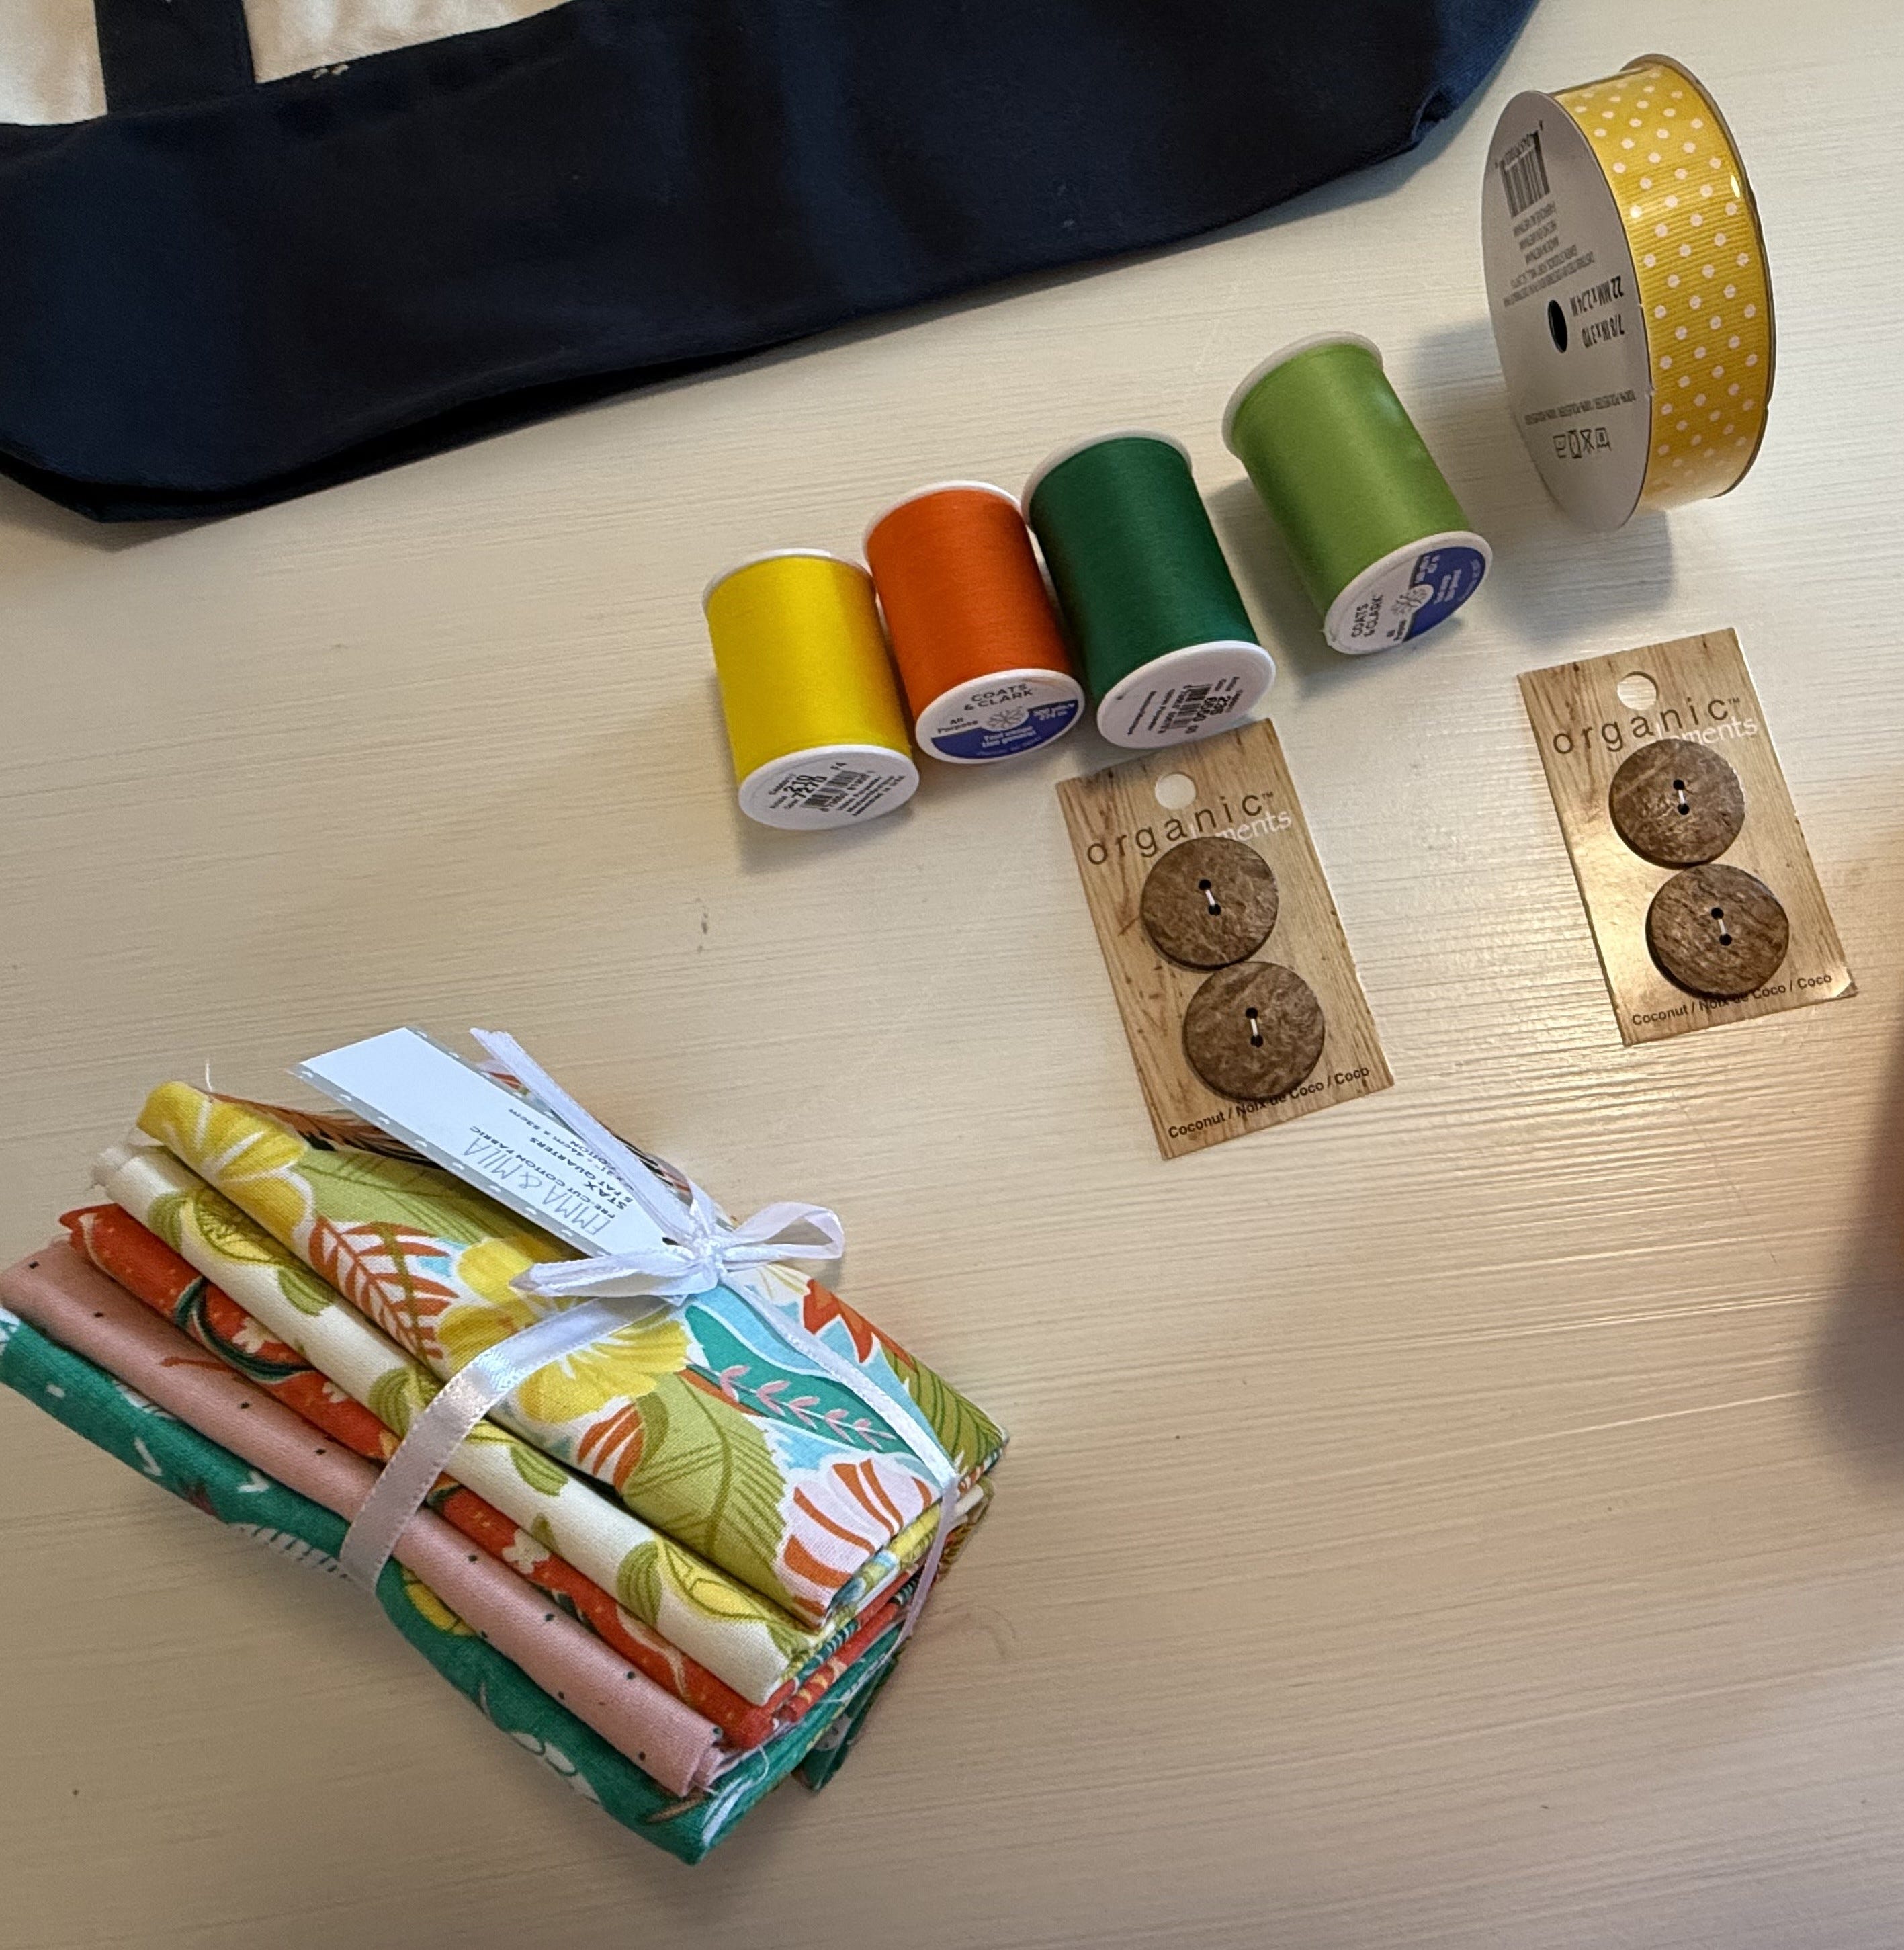
Here’s the supply list of what I used, with prices where applicable:
✅ Reusable shopping bag - $5.98
✅ Fat quarter of fabric - $7.09 for 4.5 of 5 fabric pieces in the bundle
✅ Thread - $1.00 for a bit from Coats & Clark orange, green, & yellow spools
✅ Buttons - $5.14 for 4 👀. Pro tip, save EVERY button when you discard clothes.
✅ Ribbon - $2.37 for 3 yards
Total - $21.58
Plus the items I already had:
✅ Super sharp Fiskars fabric shears
Invest in these & hide them from peeps who don’t understand the importance of having the right tool for the job. Use ONLY for fabric.
✅ Rotary cutter - Like a pizza cutter, used with a cutting mat to trim to size
✅ Cutting mat - Large cut-proof mat with a grid in inches - indispensable!
✅ Steam iron
✅ Ironing board
✅ Sewing machine
✅ Small piece of orange ribbon
Did you know that hitting the ❤️ icon above or below, and sharing this post shows your appreciation for Bren’s Buzz?
There’s NOTHING like the satisfaction we get from making something. Pass this on so others can put their hearts and hands to use making something fun.
Here are the before and after pics. Next we’ll work through the tasks from start to finish. You’ve got this!


Because this was a gift bag “trial” and most likely won’t be washed frequently, I didn’t fuss with rolled seams to dissuade fraying. Normally I would use up old buttons and scrap ribbon I already have at home, which would have saved almost $8. In this case, I wanted things to match so I bought coordinating buttons and ribbon. If it was something for me, I would love the mismatched look and I pride myself on using stuff I have lying around, like a ‘mission impossible’ challenge, 🤷♀️ because that’s how I roll.
Here’s how to prepare the fabric:
➡ Pick out 3 preferred fabric pieces
The bundle contains 5 coordinating pieces precut to ~18x22, all in cotton quilting fabric. This size is what’s called a ‘fat quarter’ yard.
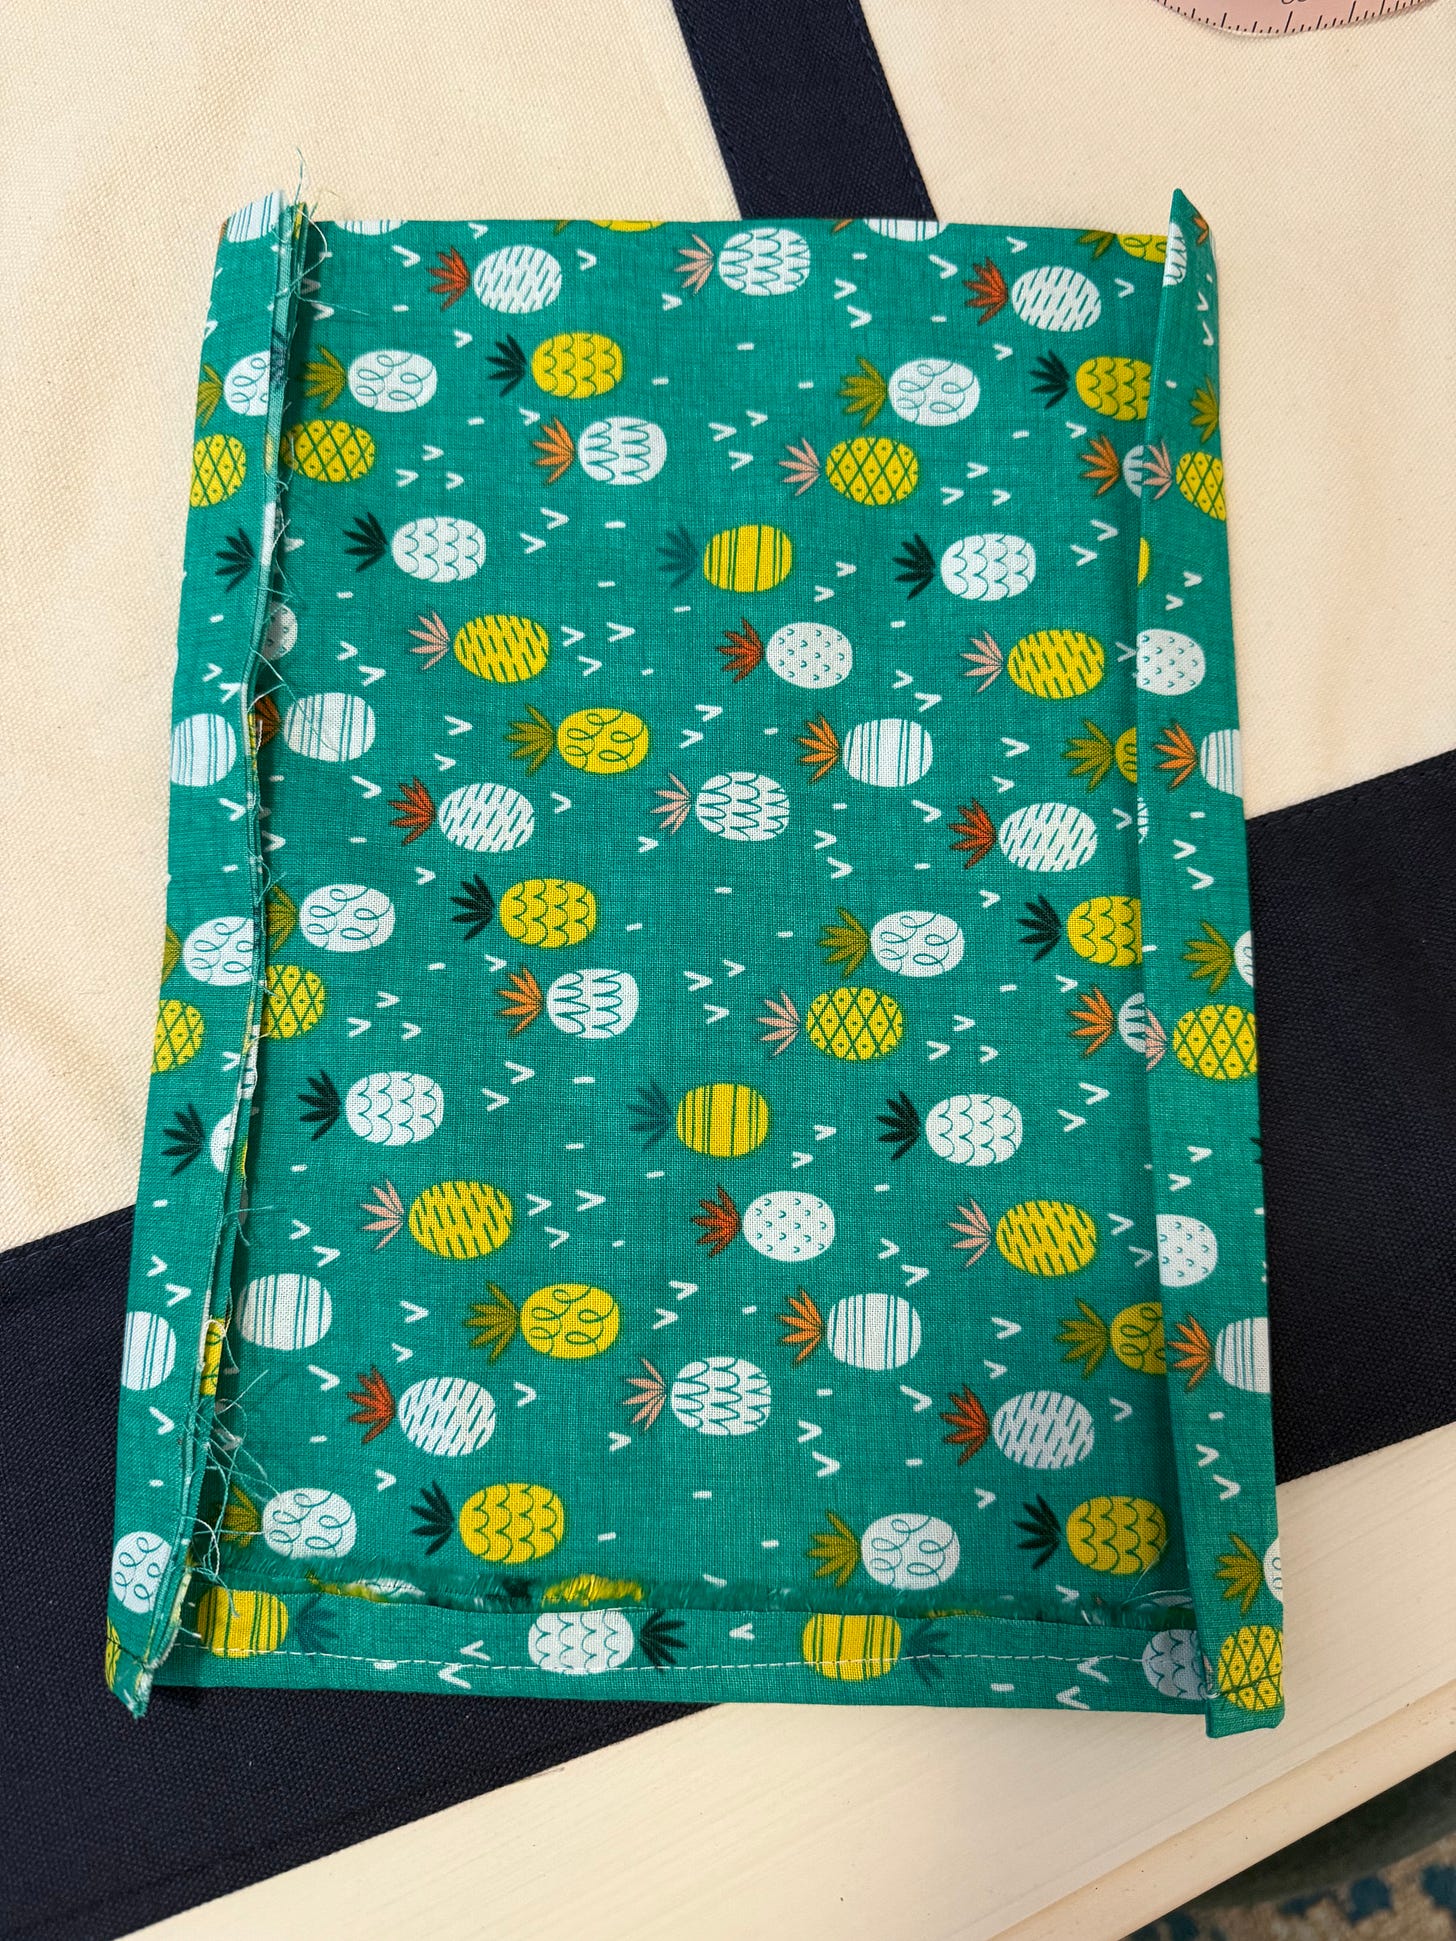
➡ Fold two of them in half twice, a layered rectangle that fits between blue straps
Leave the layers open on top to slip different things between, once sewn on.
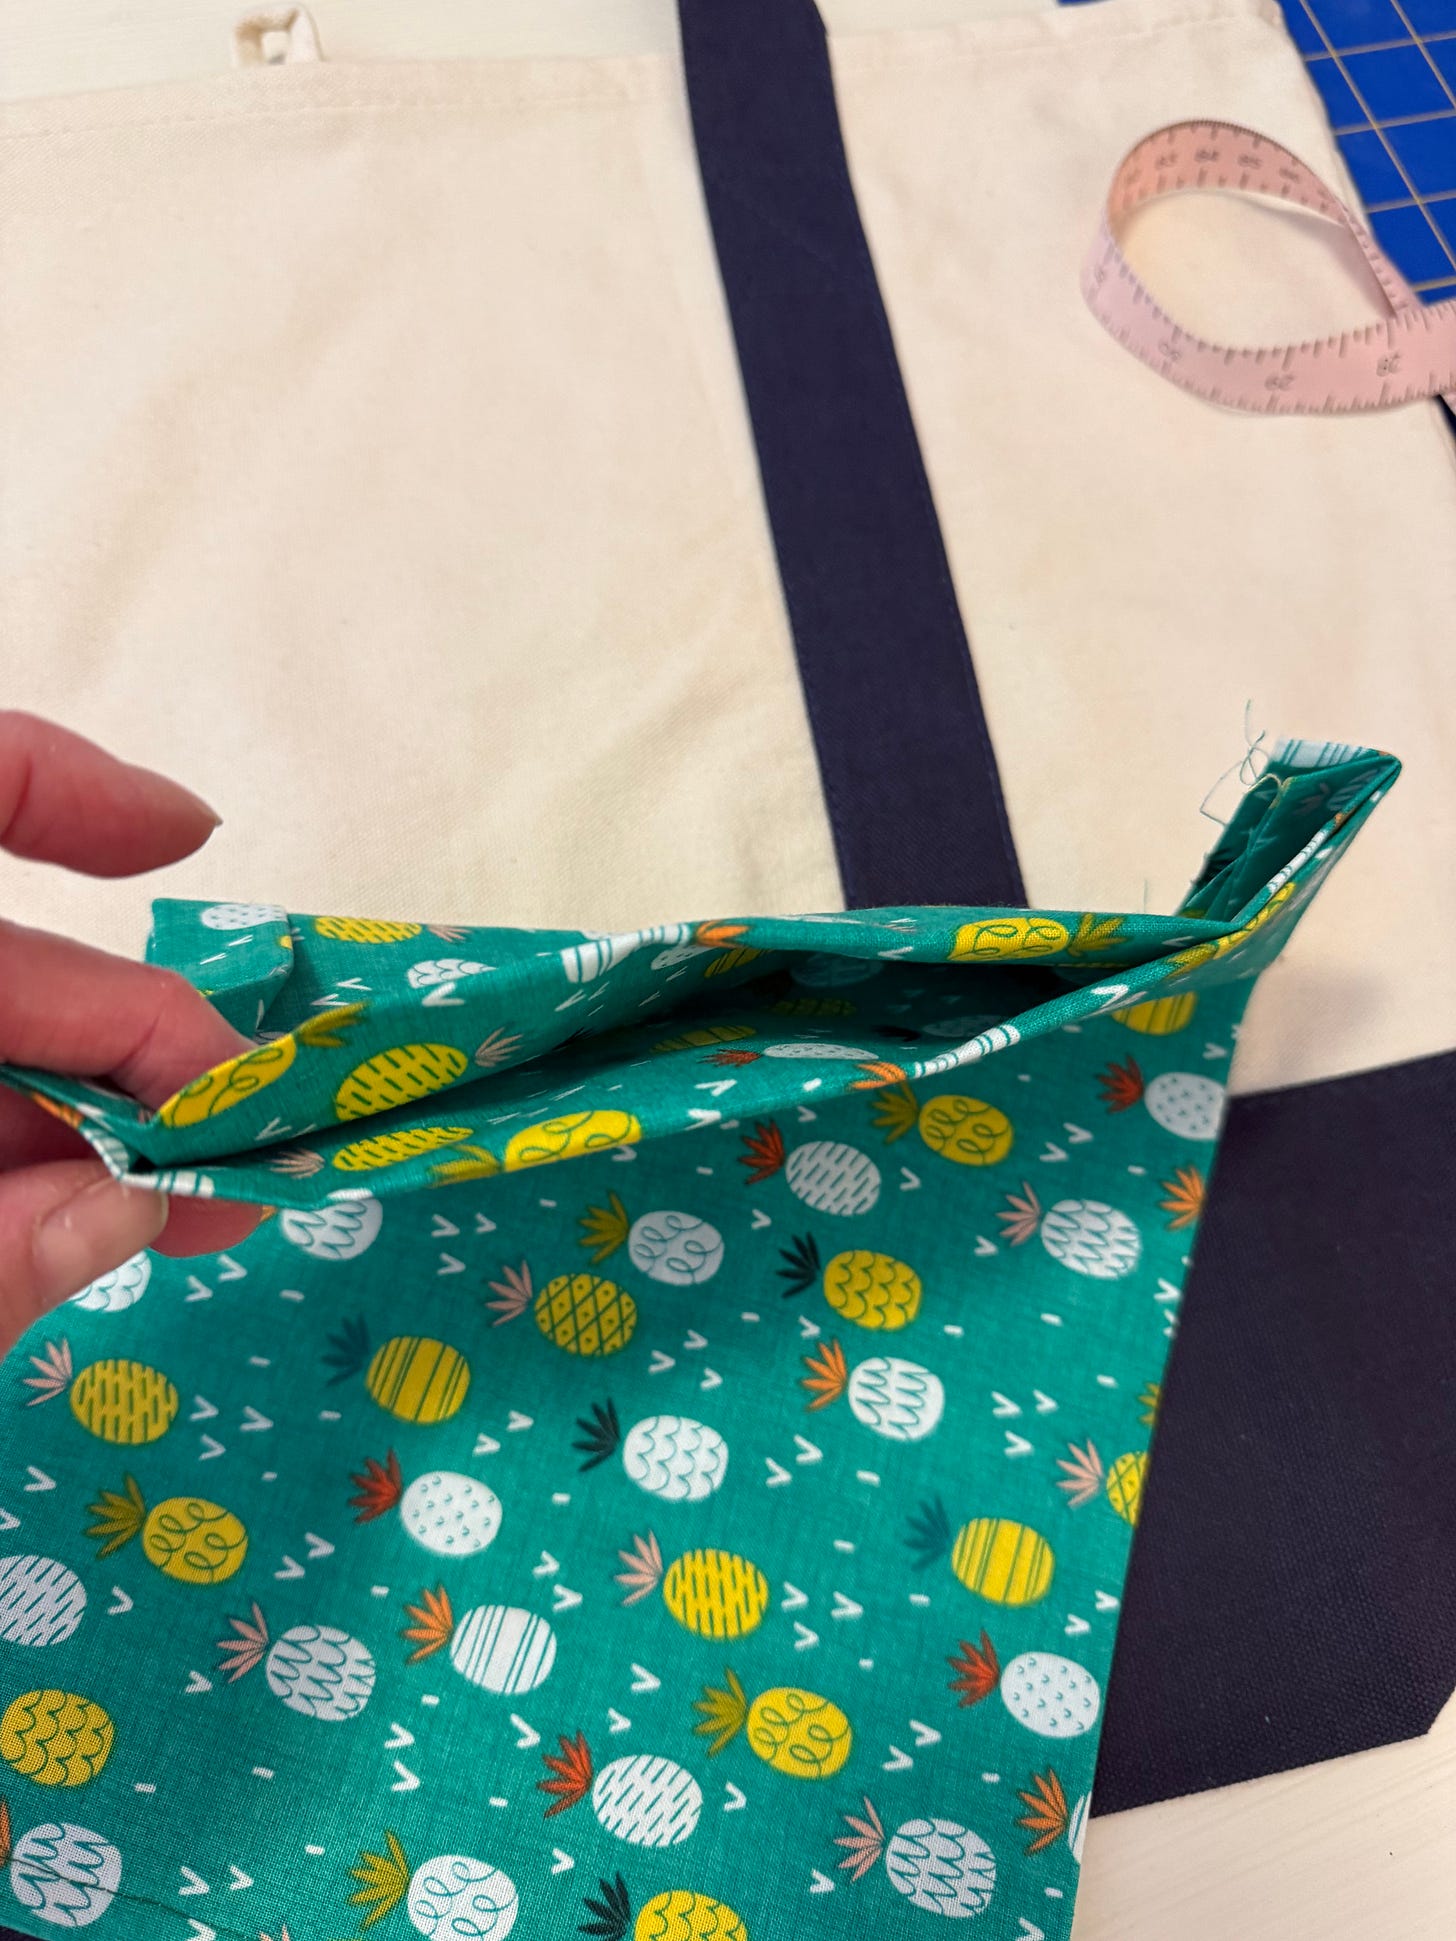
➡ Fold over the edge (~1/4 inch) on each tall side and the bottom, iron in place
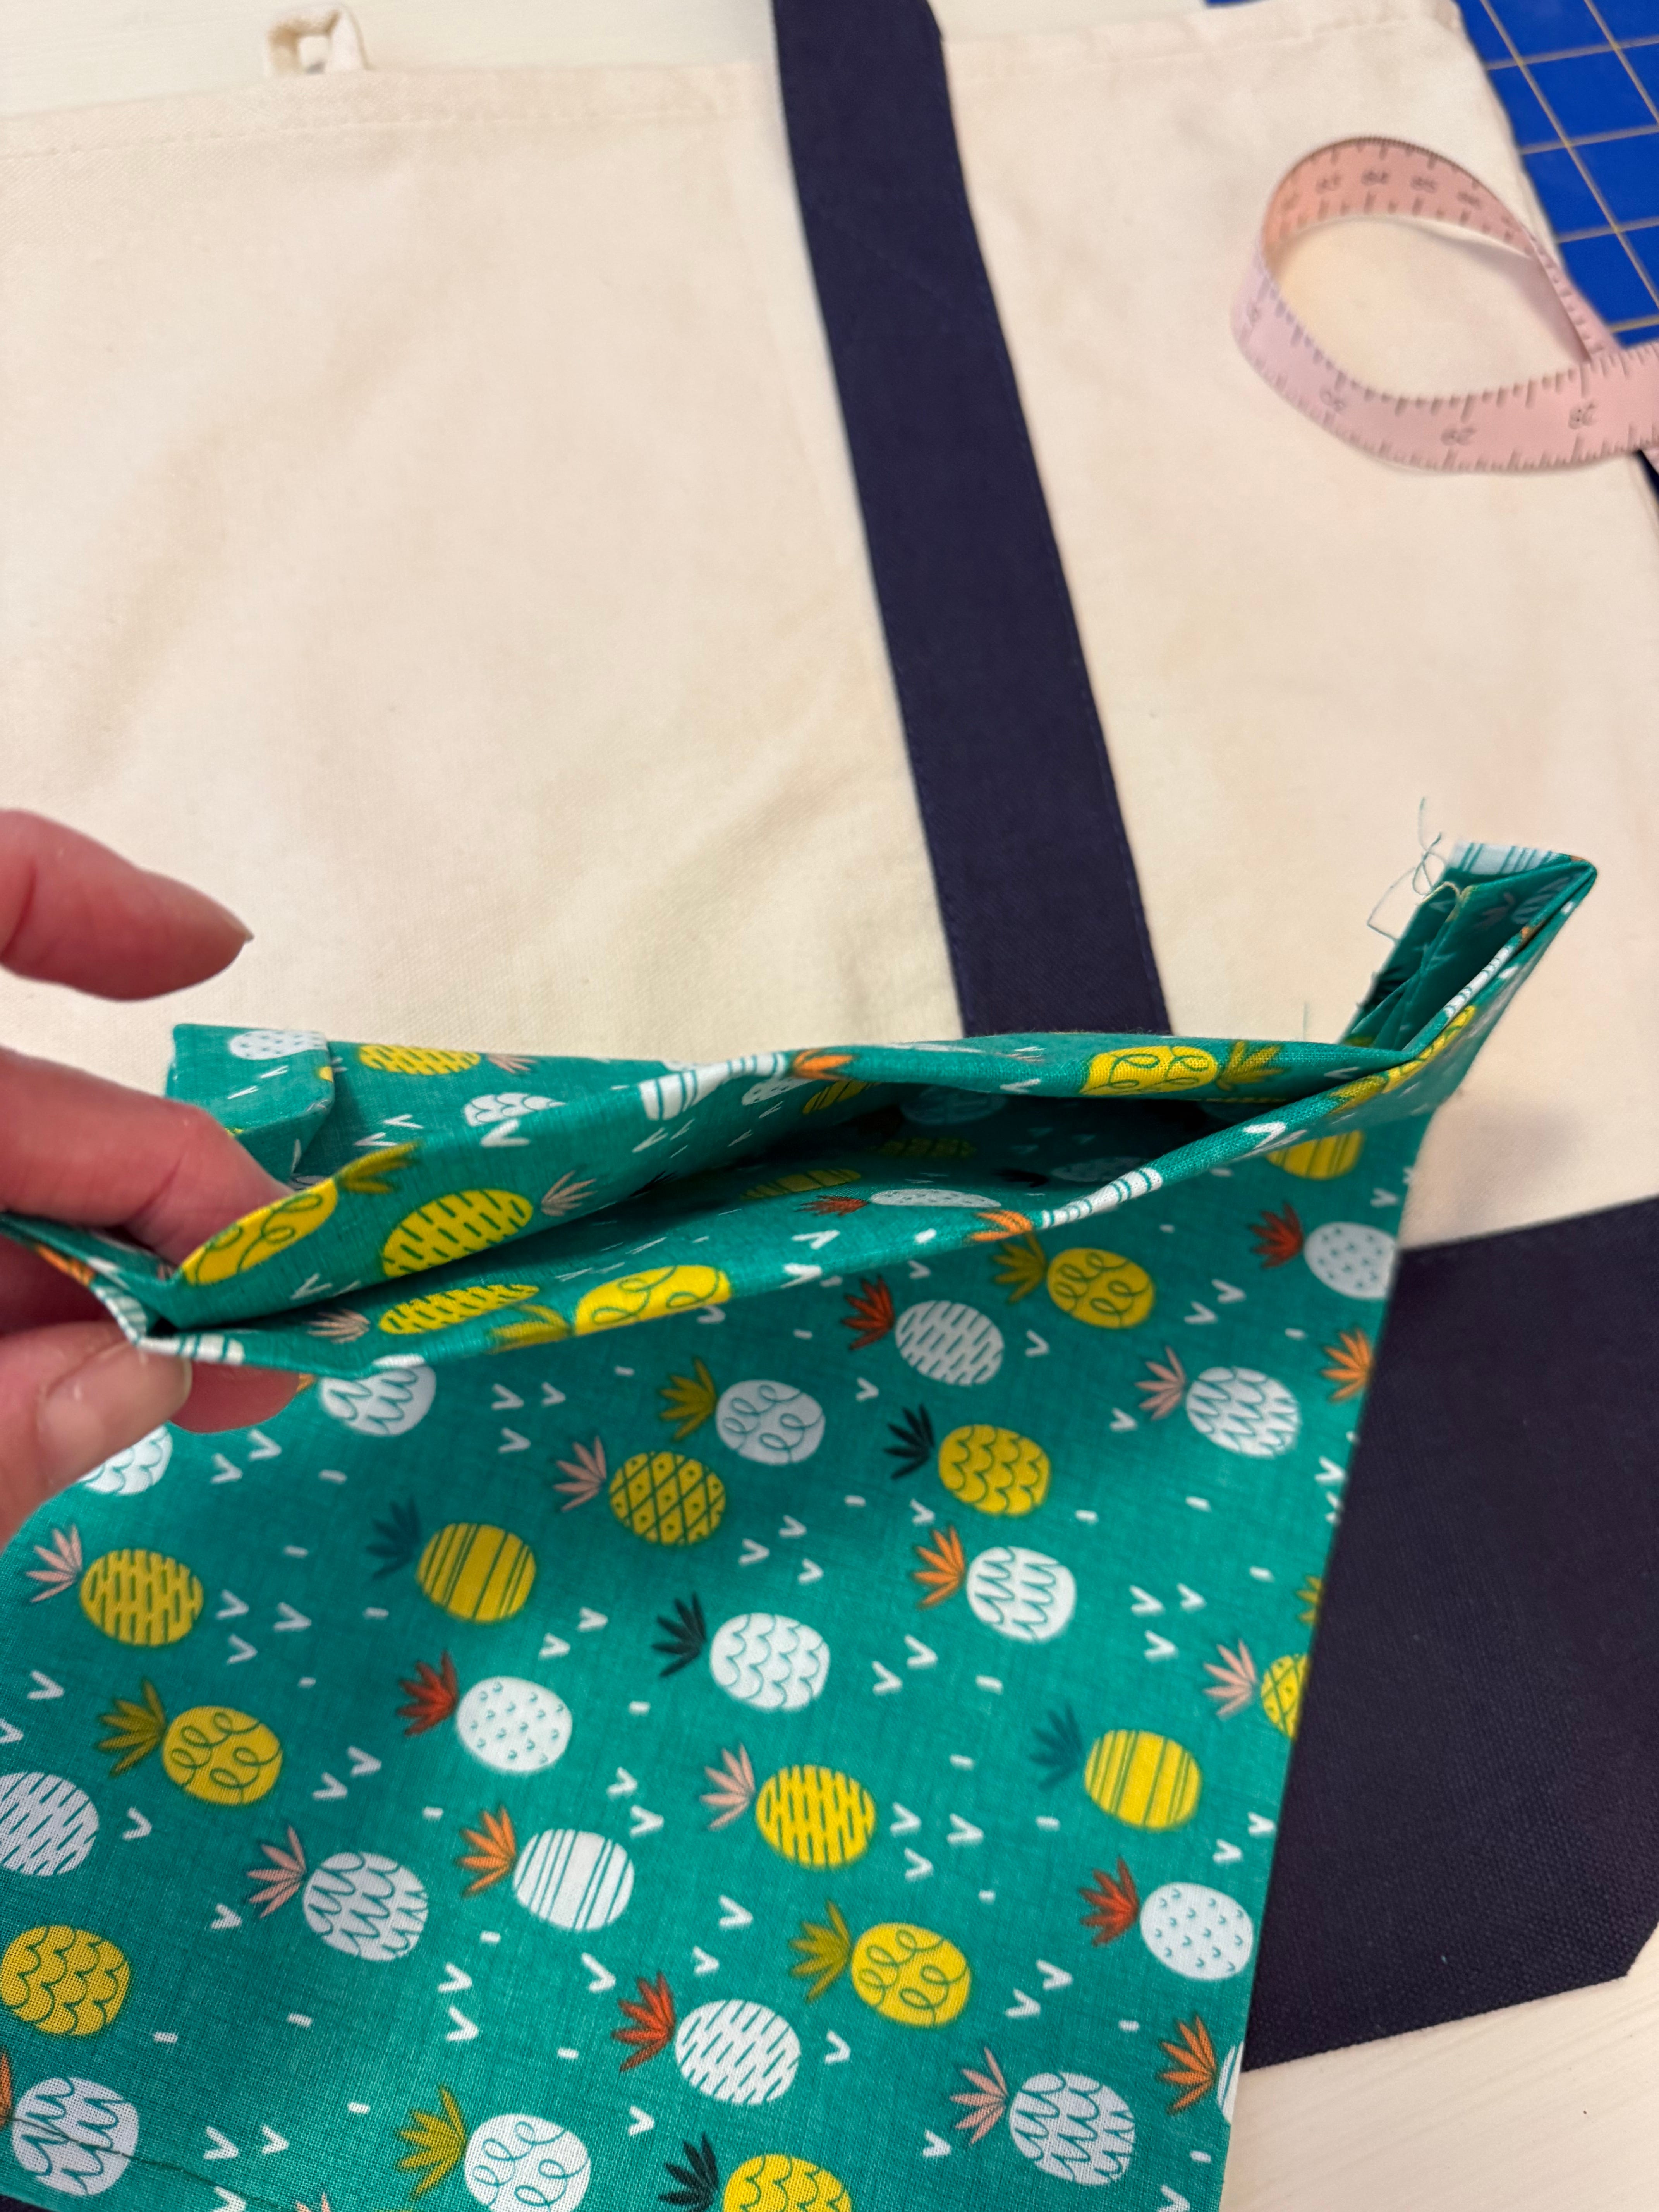
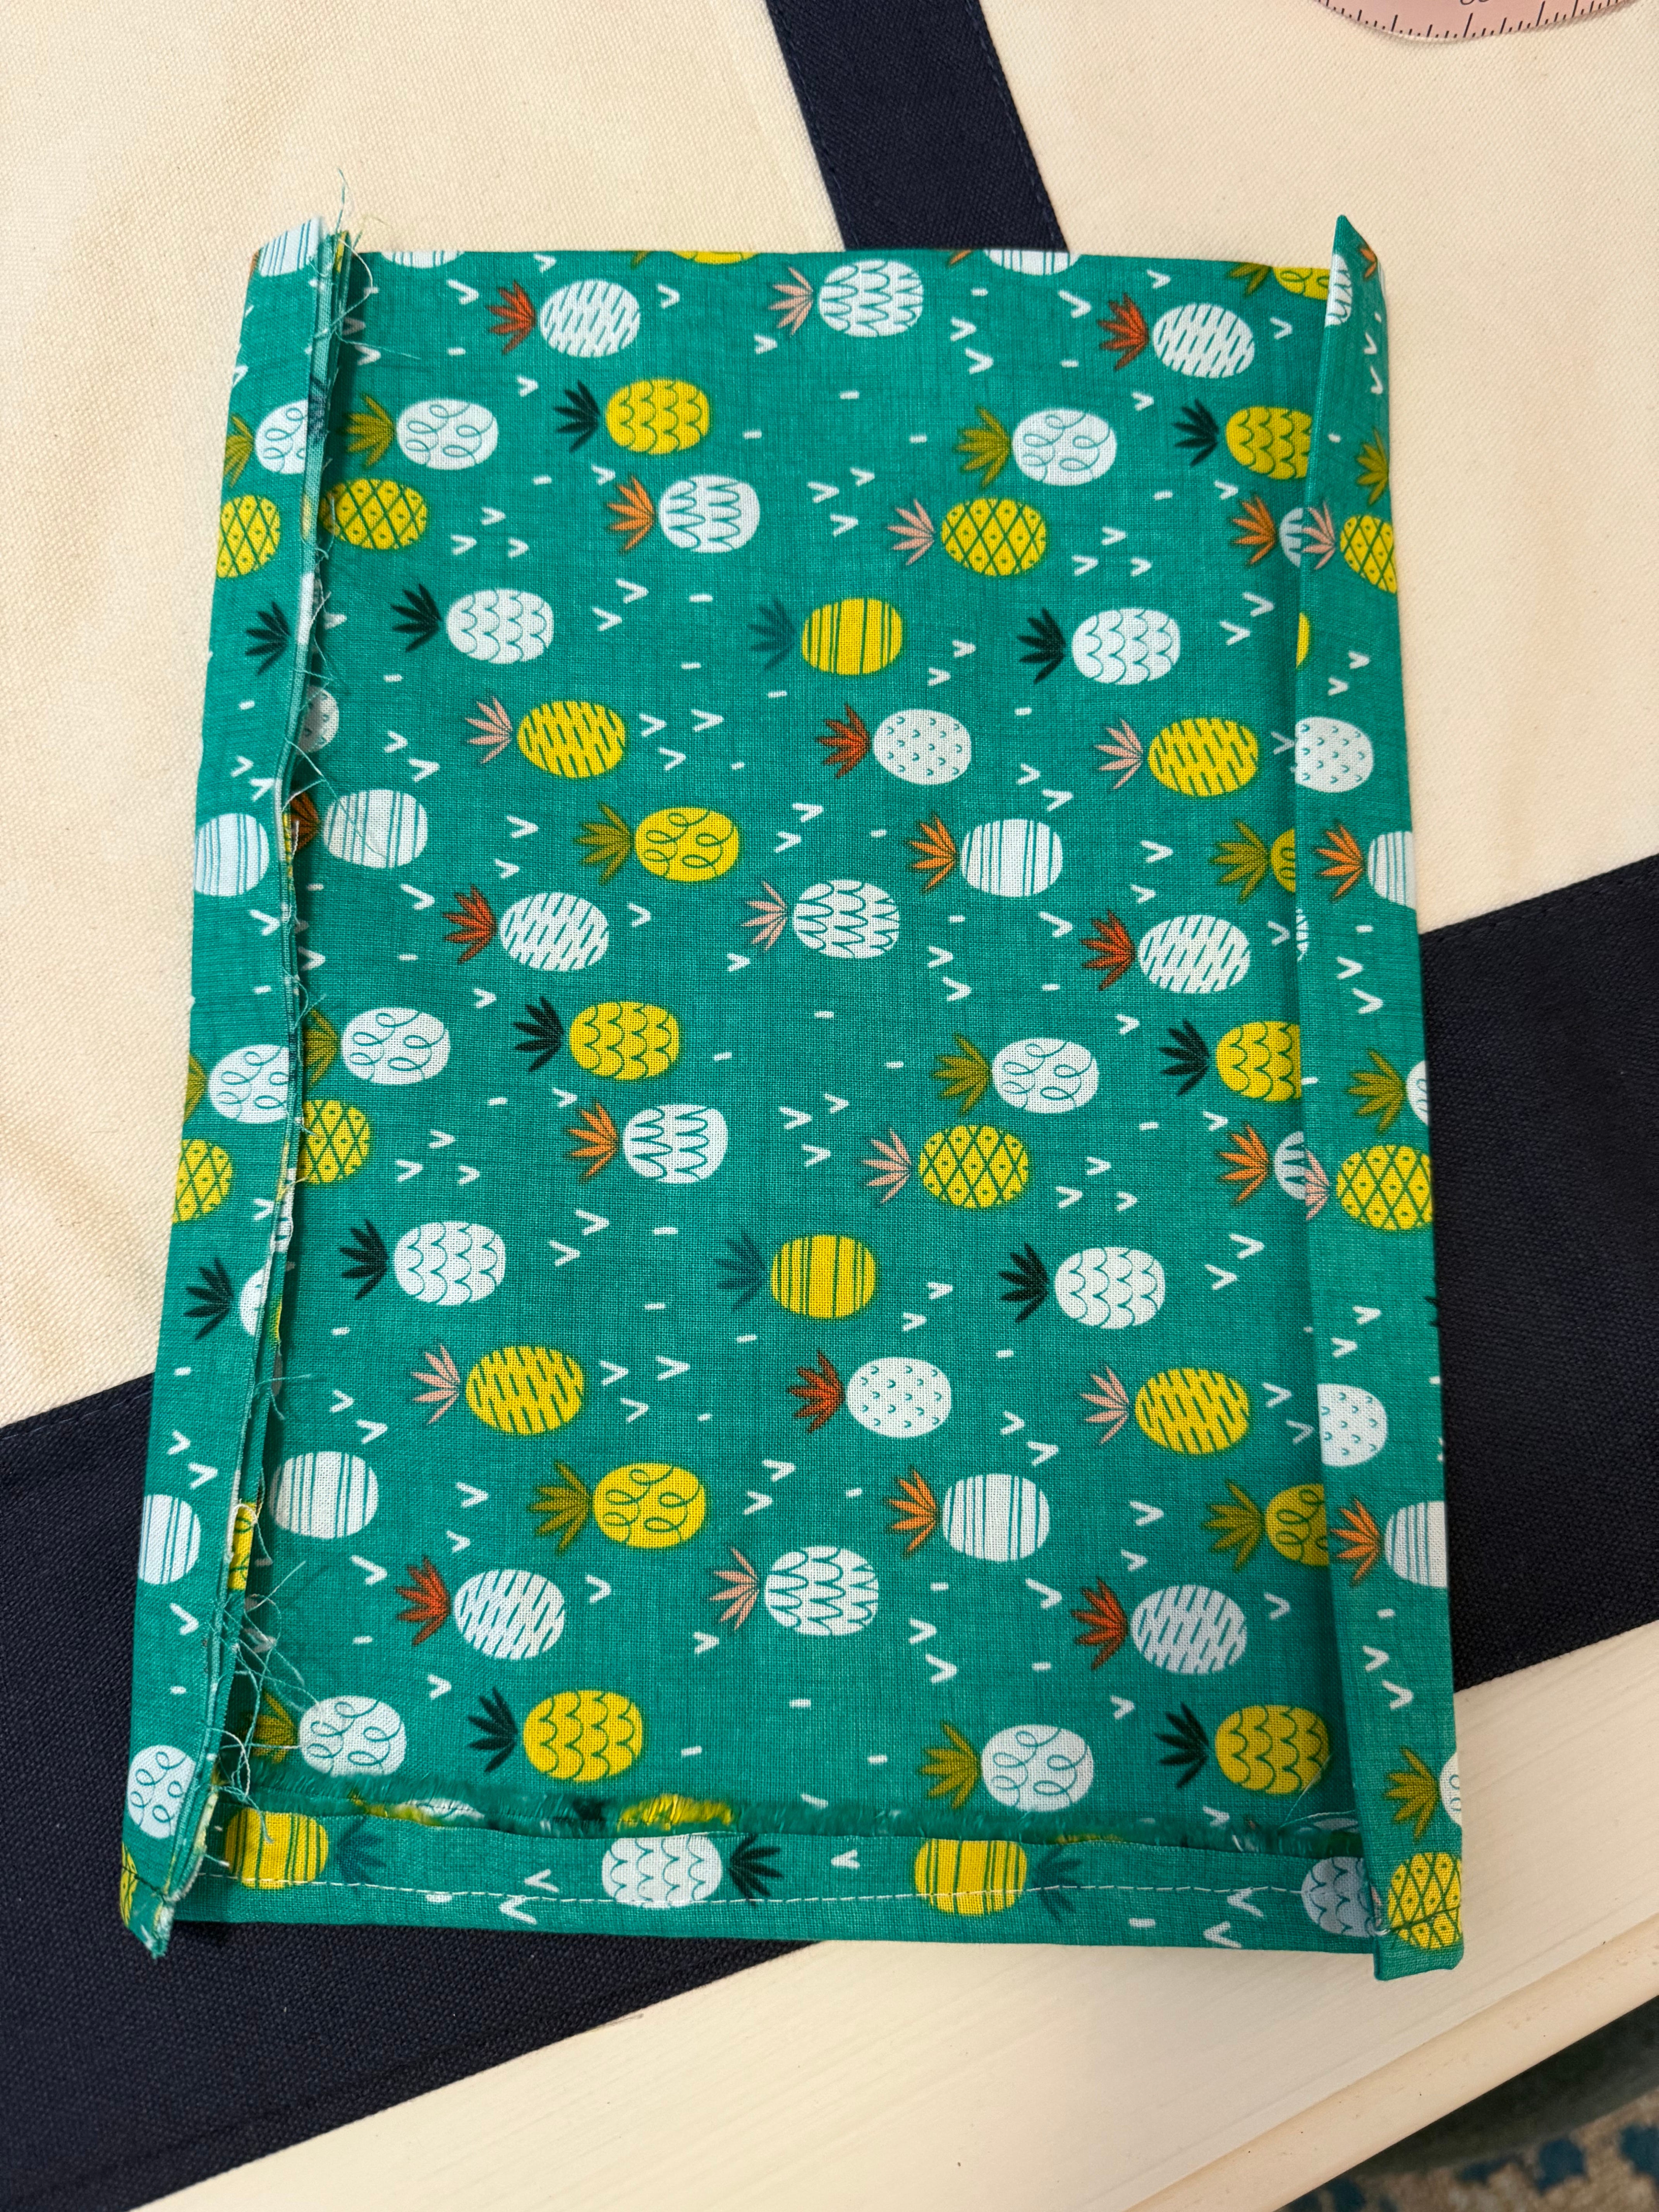
➡ Fold third piece in half twice, cut on the long side fold = 2 pieces, 9x11 each
➡ Fold the edge on three sides and iron in place, as noted above
➡ Cut a piece of coordinating ribbon and sew across each half, an inch from top
Get this kind of kick-assed ‘show and tell’ right in your mailbox for free ✌
It’s time to sew (or use the web bonding). Using coordinating thread colors:
🧵 Sew the first two ironed fabric panels in between the straps on both bag sides
Sew top down, lift presser foot, turn, lower PF, sew bottom, turn up last side
🧵 Ensure that you don’t sew the bag together
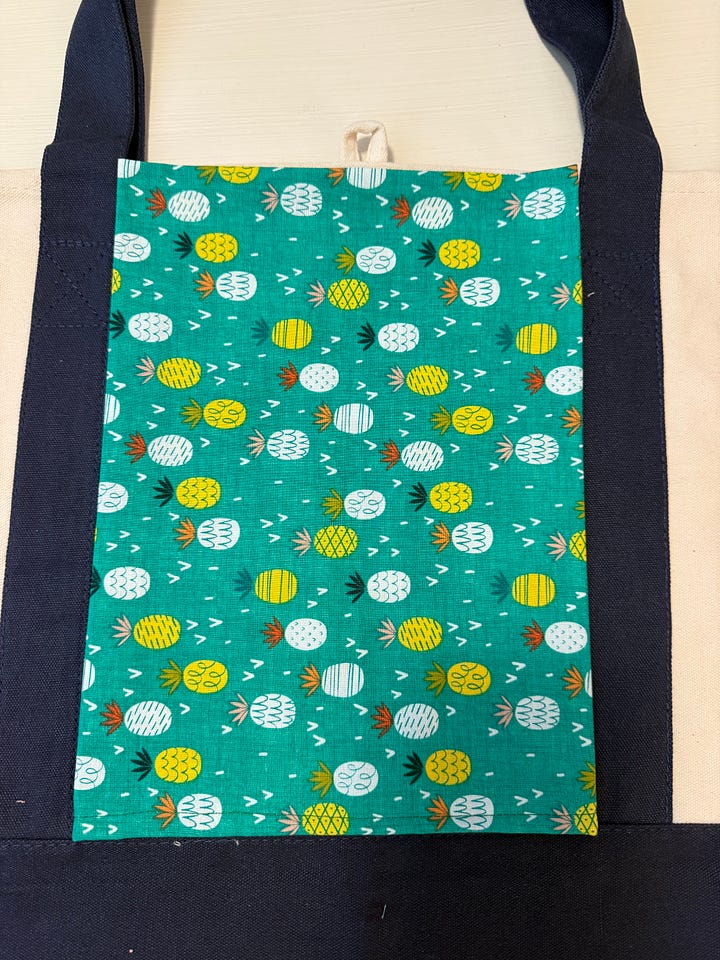
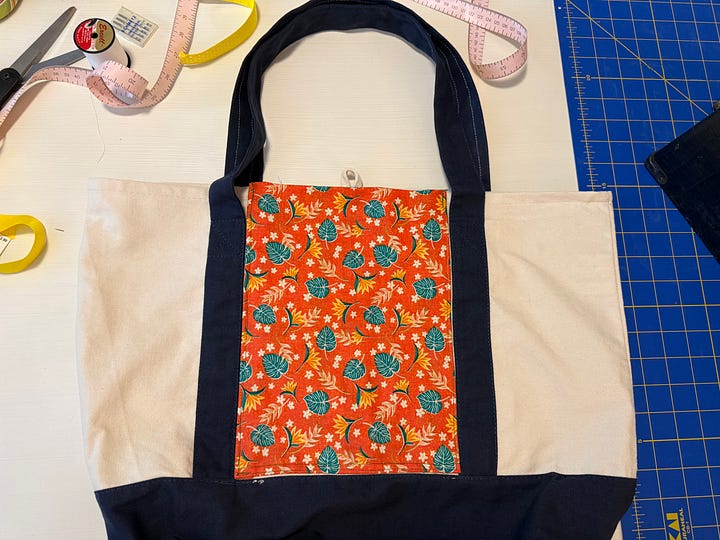
🧵 Sew the two bottle/shoe pockets to what you want to be the bag’s front.
Don’t be confused, pics show ribbon on straps first, but this is easier.
🧵 Place them between the outer edge of the strap and the side seam of the bag
🧵 Sew from the top down as noted above, starting on side next to strap
🧵 When turning to cross the bottom of the pocket, place 2 small folds as you go
This adds 2 pleats which makes the pocket bottom narrower than the top
🧵 Pleats should be big enough to make the bottom end right at the side seam
🧵 Now you have more fabric ‘hanging out’ from the surface of the bag
🧵 Make the final turn at the second long side, sewing up to the top to finish
Sew up that side seam, from gathered bottom, leaving excess gaping out.
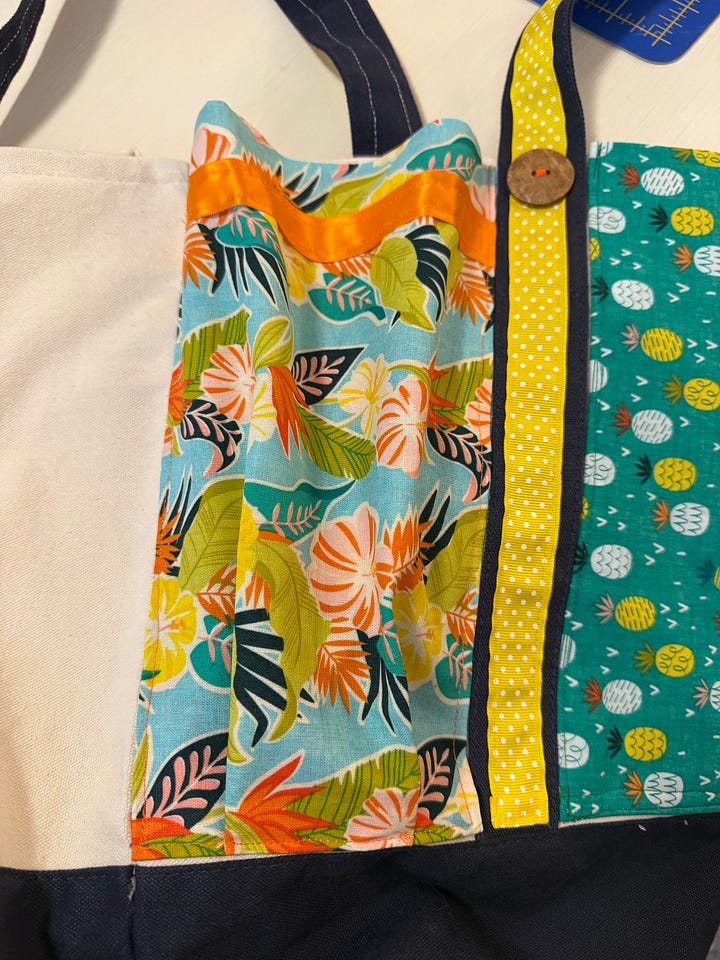
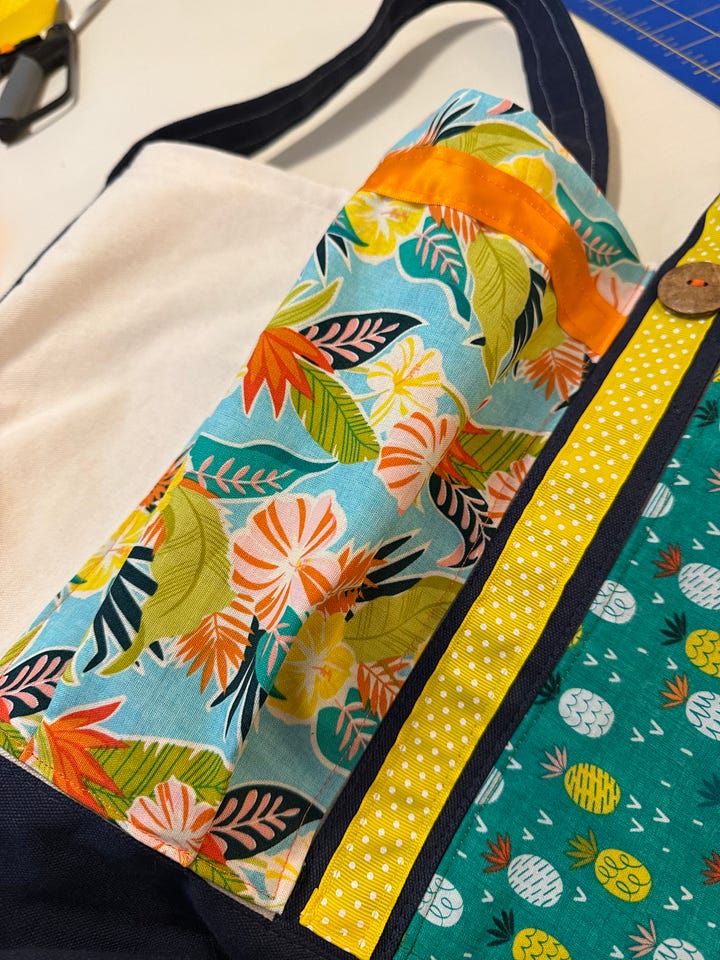
🧵 Repeat this process for the other pocket
🧵 Add ribbon to straps, ironing a small fold in beginning and end of ribbon first
Sew around the entire edge of the ribbon - across end, up a side, across end, down a side
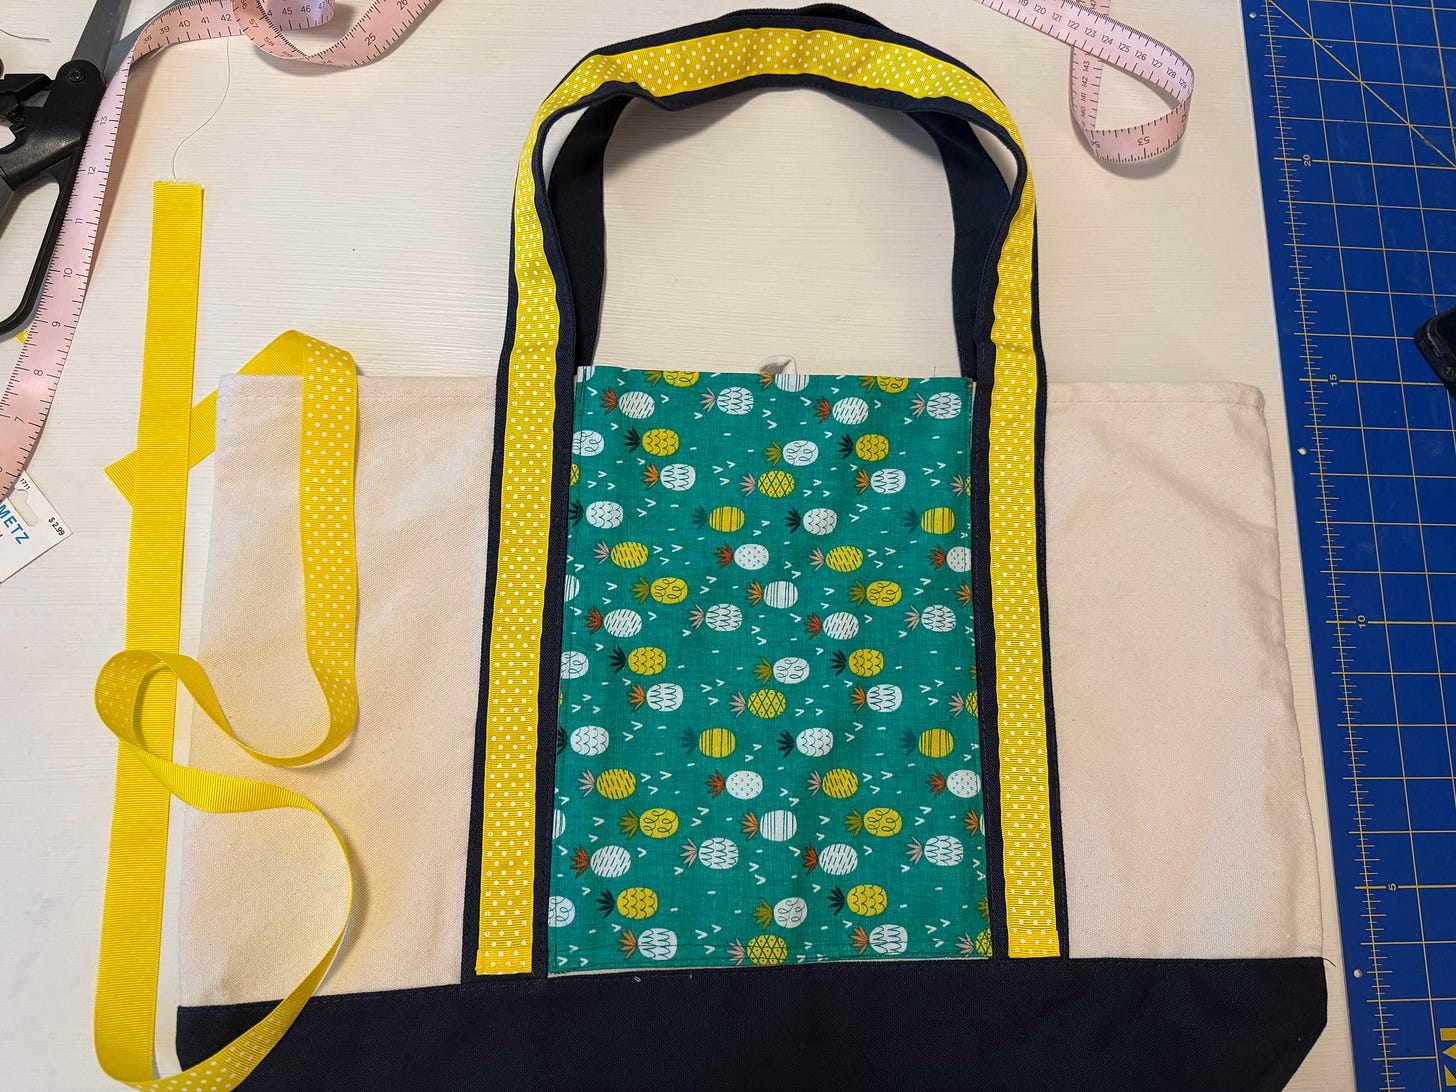
🧵 Sew each of the 4 buttons onto the ribbon-laden straps near the bag’s top
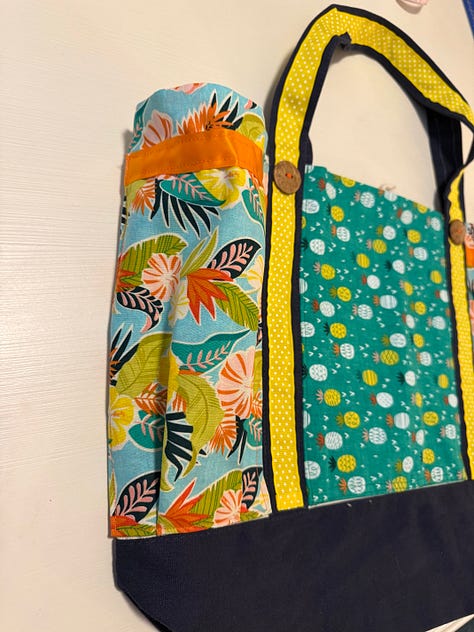
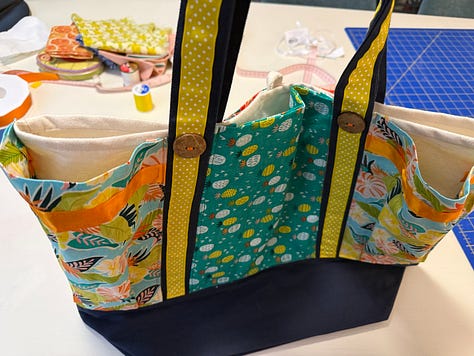
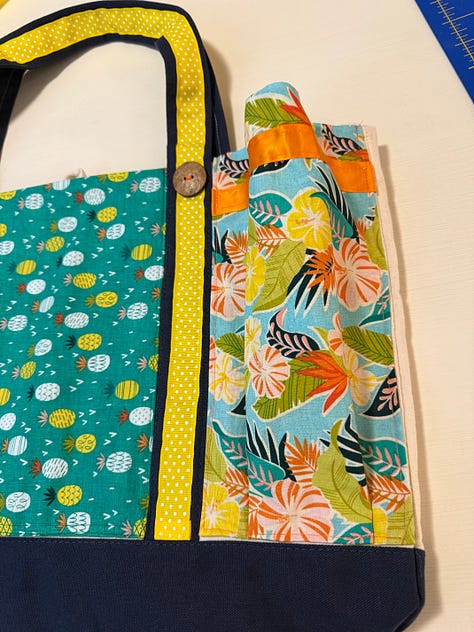


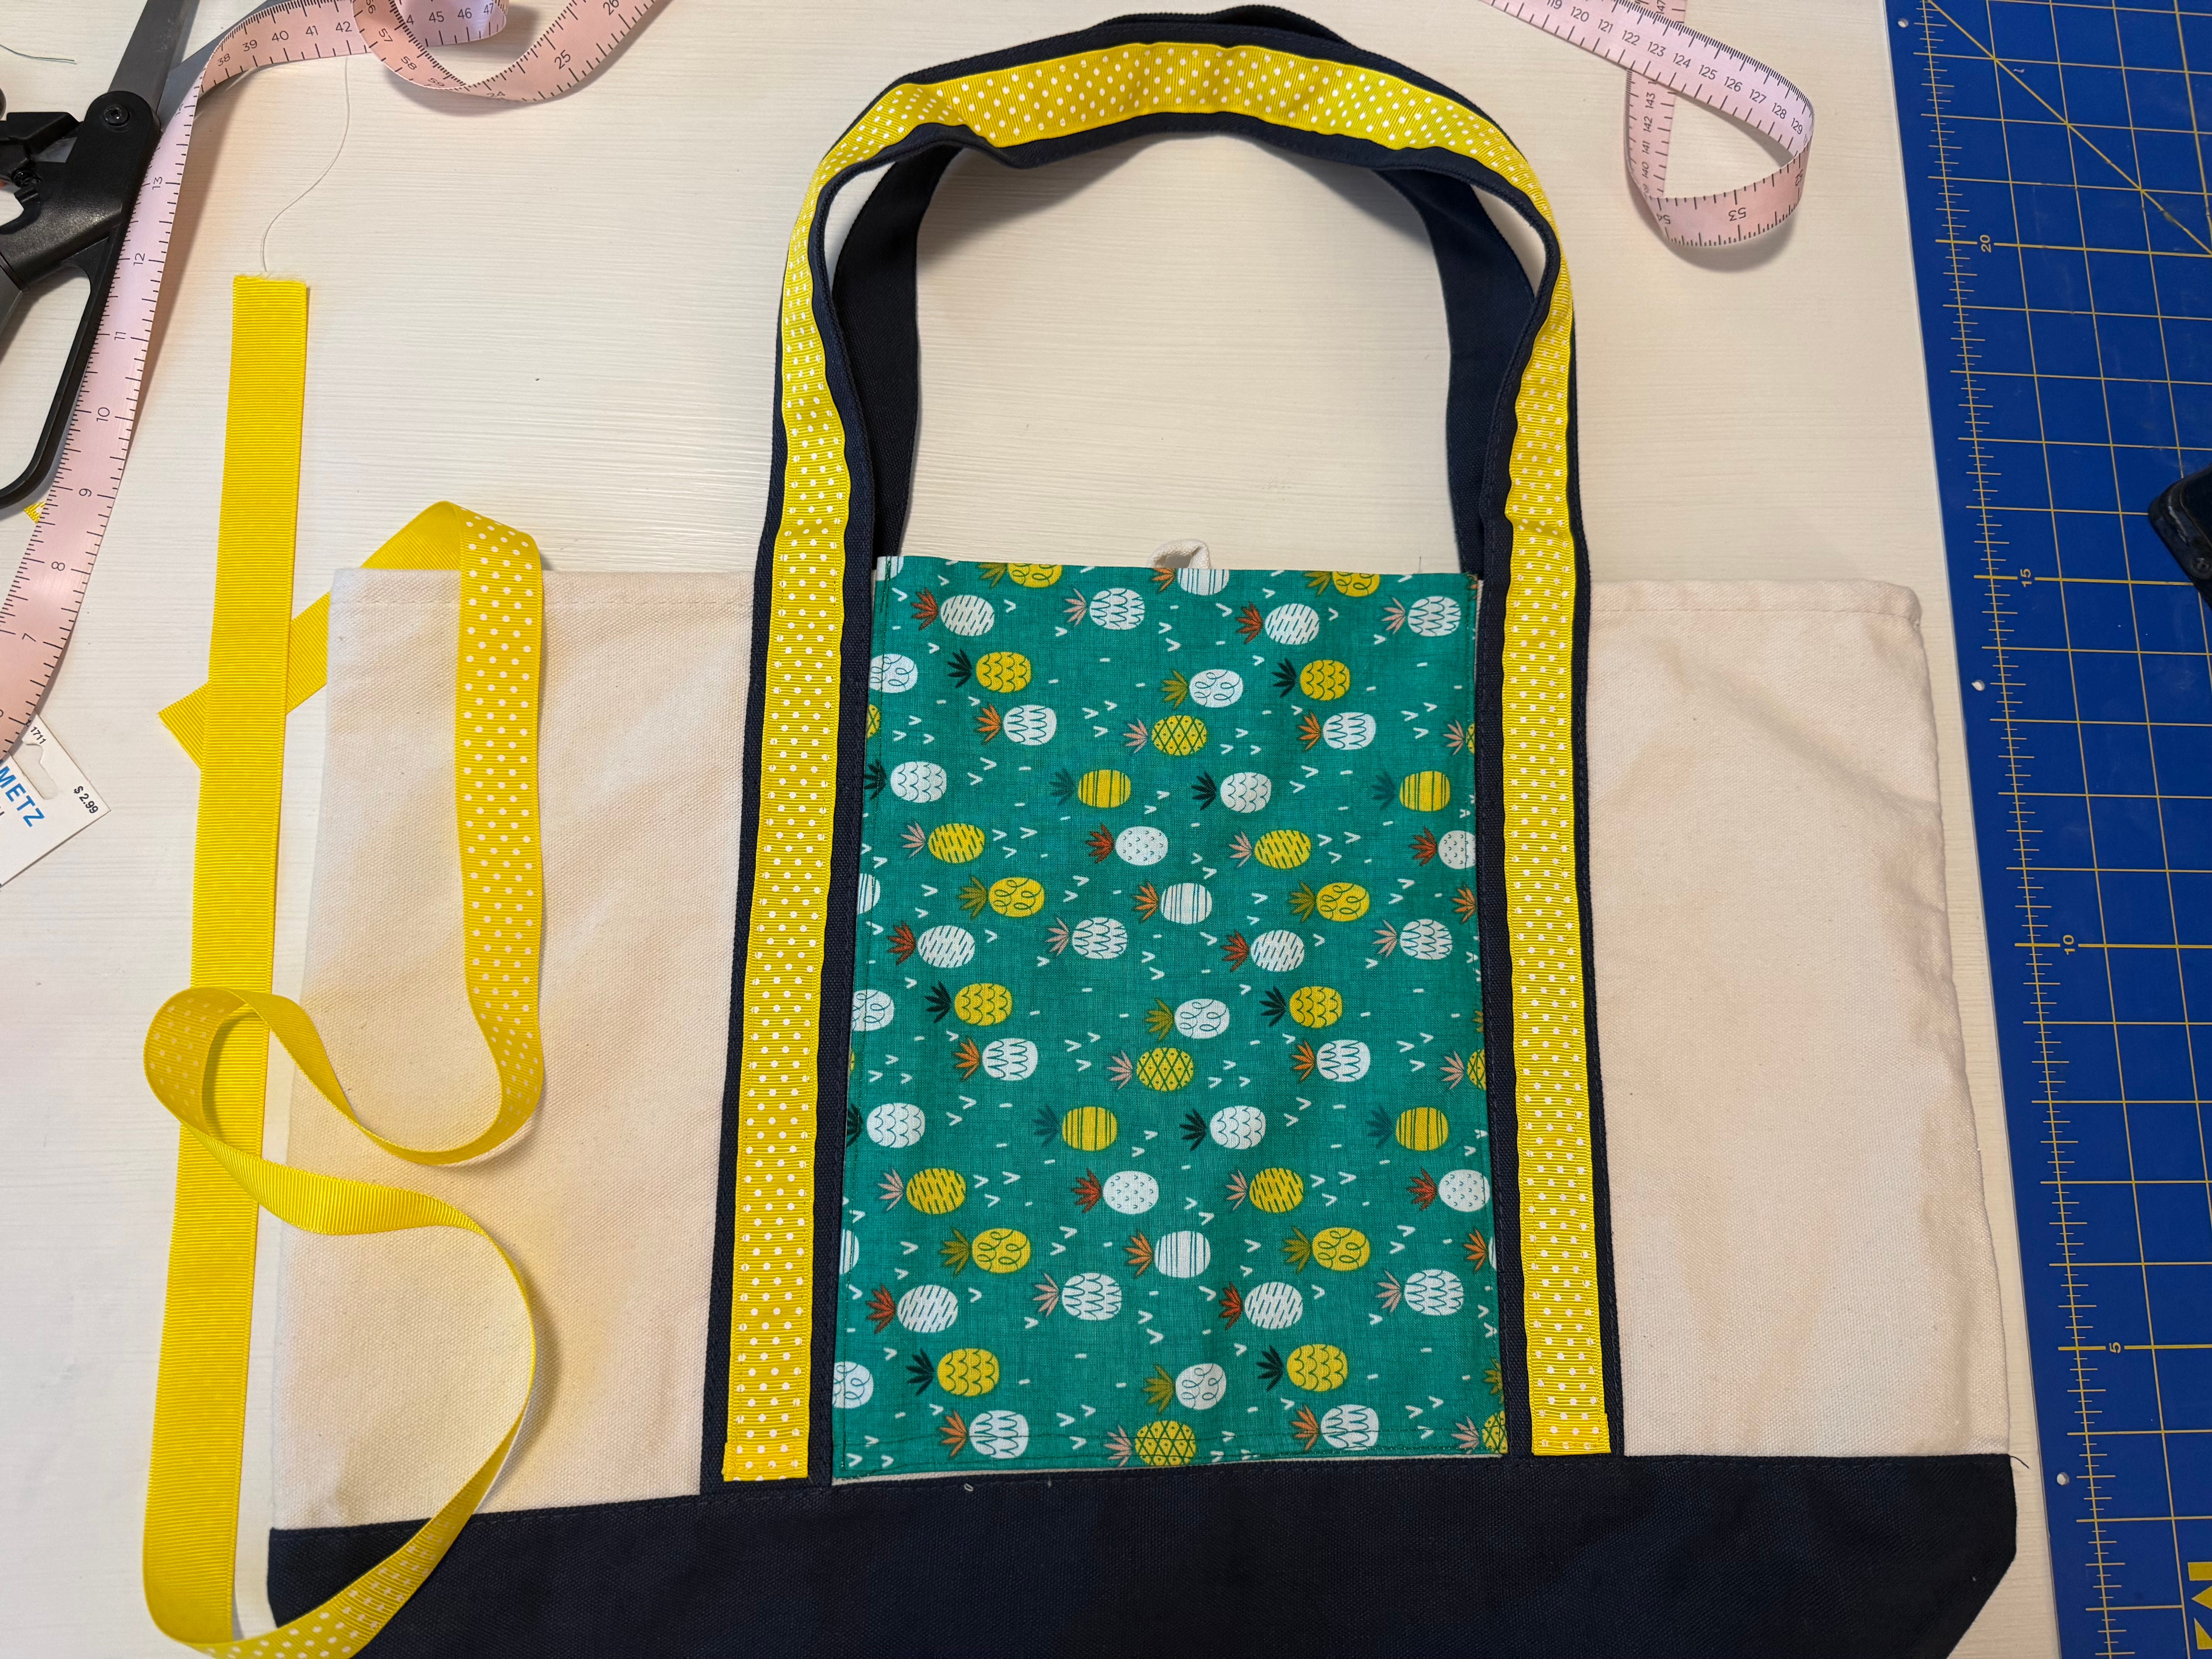


And, Voila! A custom tote bag for you or for you to gift onward. I hope you enjoyed this short lesson in ‘whipping up a gift bag’. The first time takes the longest then it gets easier with practice.
Questions? Comments? Accolades? LOL
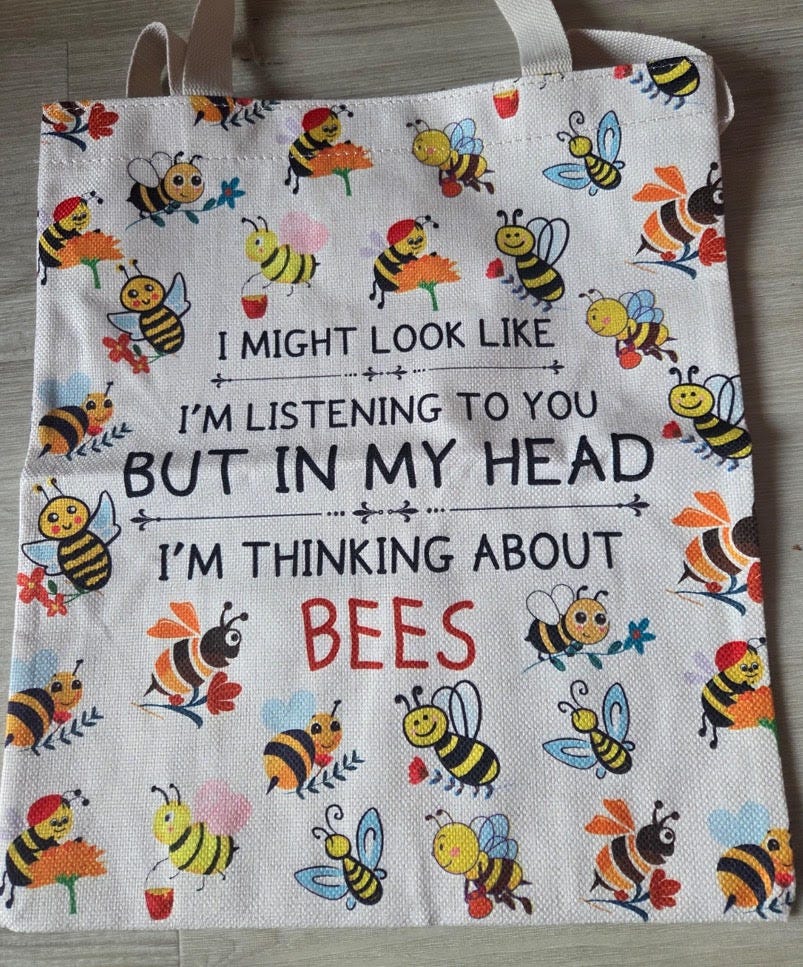
I already have plans for another one, thanks to Kate Warner and her lovely new bee bag. I have visions of golden fluffy trim and flannel bee-colored applique…as if to dream…
Check out my sentimental walk through mending my heart through a tired towel. And, see the method to my madness behind a recent room design created from a handful of sea rocks.
How Can You Mend a Broken Heart

It all started Wednesday, on my day off. Like we all do from time to time, I was feeling a bit out of sorts, at loose ends with a list of chores that mattered zilch to me because my ‘brain was itching’. I use this phrase to describe the urge to create something.
Roomful of Memories

A pocketful of rocks doesn’t sound like much. It certainly doesn’t sound like inspiration, and maybe, definitely, not inspiration for a ‘roomy’ memorial in a cozy space. And, it might seem boujie in light of today’s bitter, global ‘good-life-guilt’ moment, but bringing the inherent artfulness of nature inside tethers us to our natural, humble beginnings…
This is super cute and fun! I love it 💗